
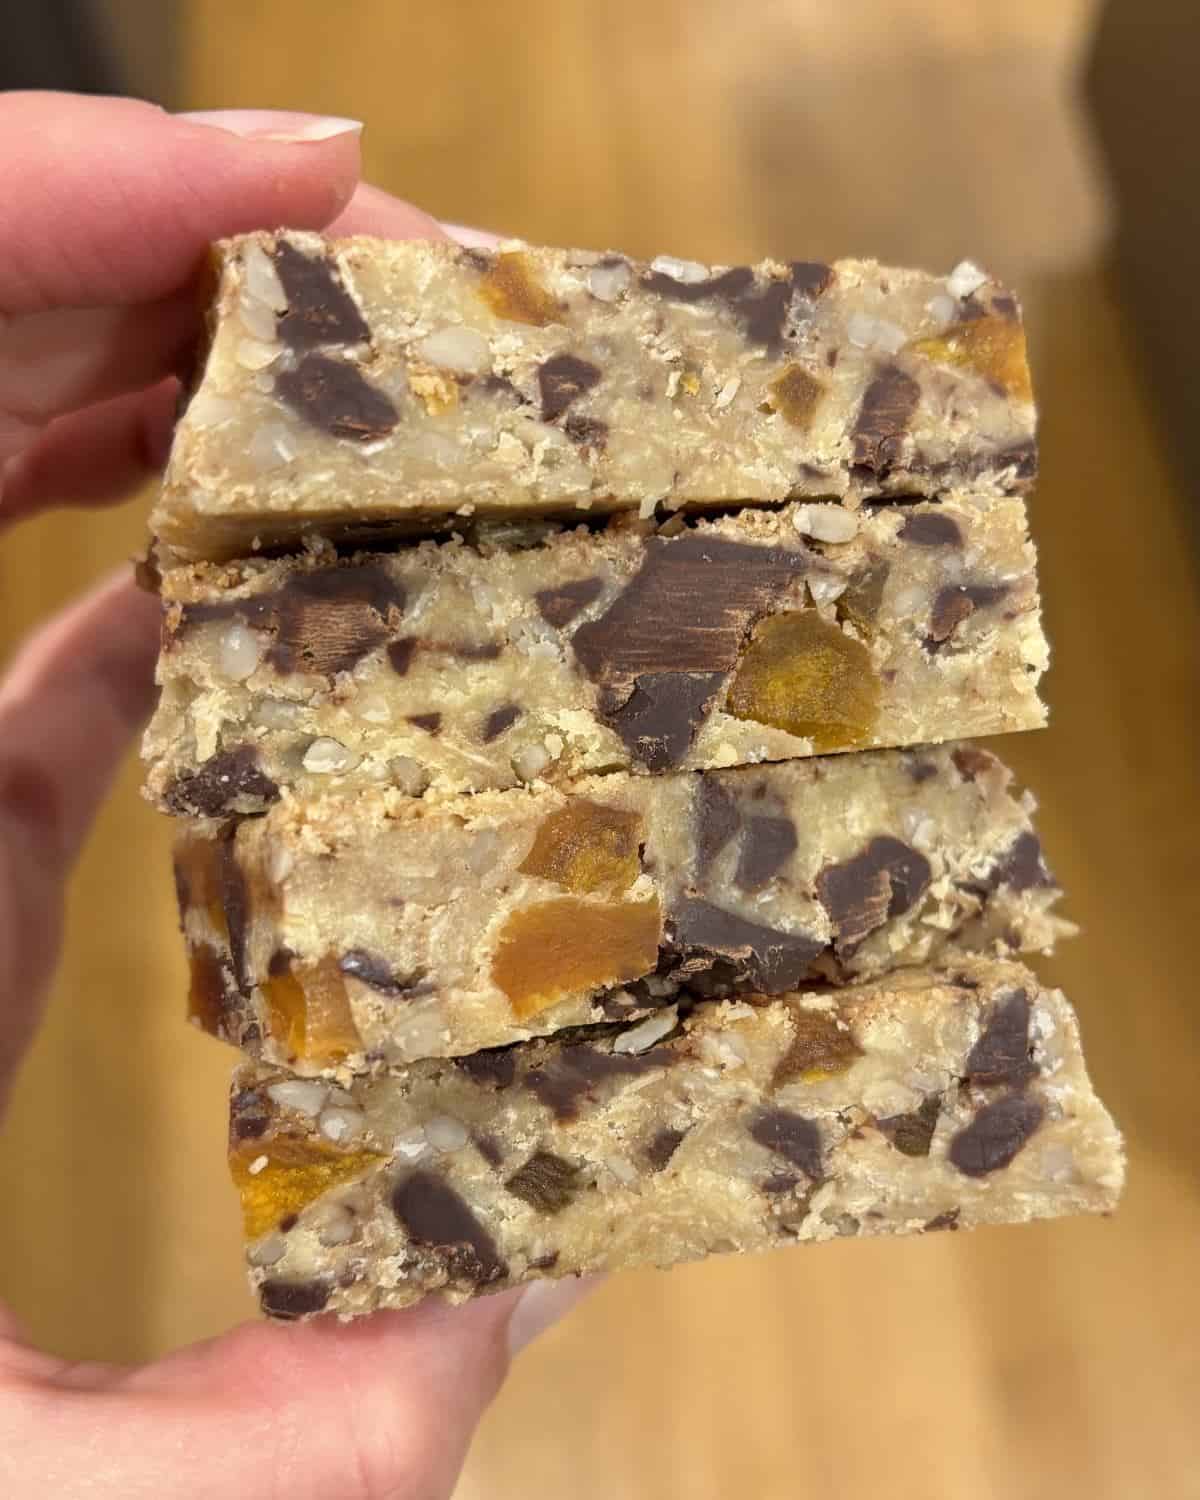
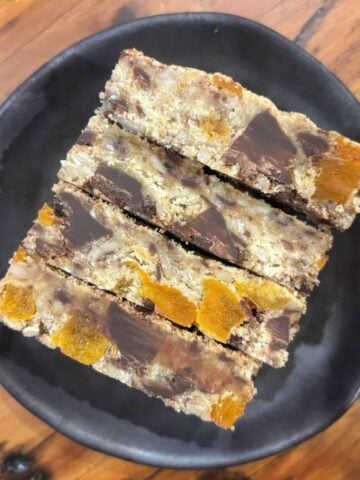
Gluten free bumper bars made with gluten free flour, gluten free weetbix, butter, golden syrup, brown sugar, coconut, sunflower seeds, apricots & chocolate.
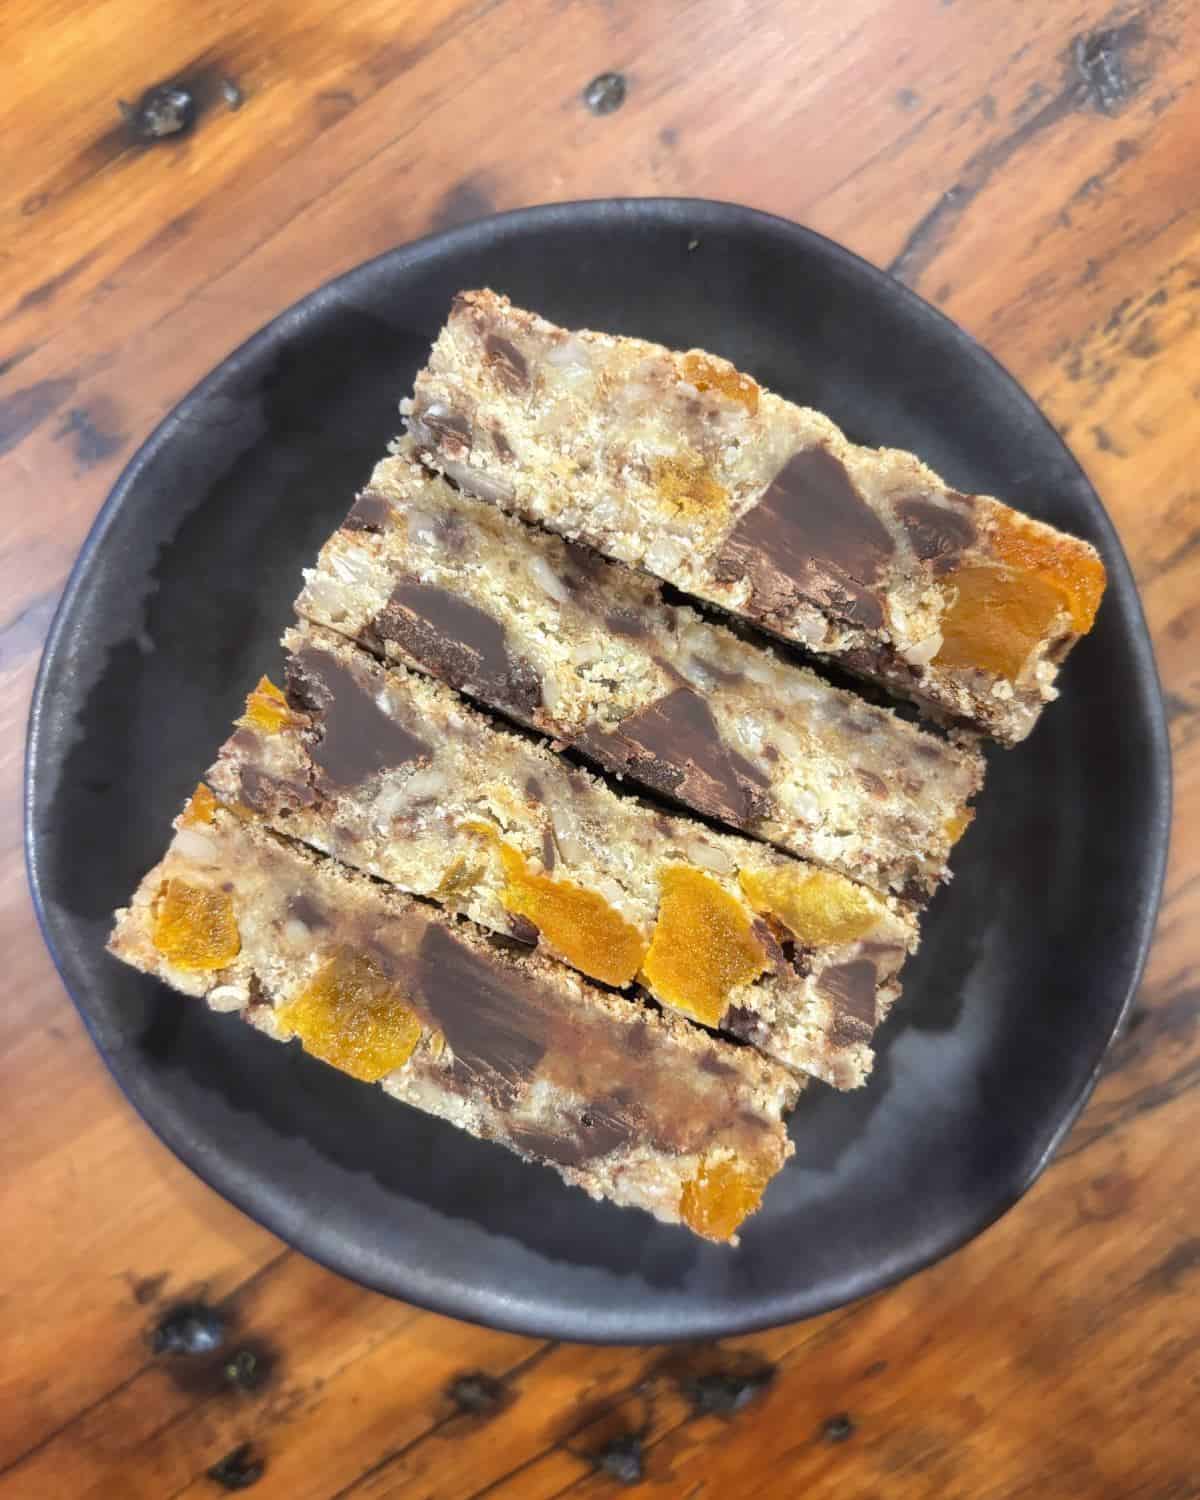
New Zealand's favourite bumper bar recipe just got a gluten free upgrade! That's right, this recipe for Gluten Free Apricot and Dark Chocolate Bumper Bars is a riff on our insanely popular muggle recipe, but with all the facts you need to know about making it gluten free.
Kia ora, I'm Theresa; website manager at VJ cooks. I am gluten intolerant and am married to someone with coeliac disease. After making several versions of these bars with different gluten free substitutes and sharing them with everyone in the office, I was asked to make a dedicated recipe for our gluten free friends. So here you go! Read on for my experiences with different ingredients.
Ingredient notes:
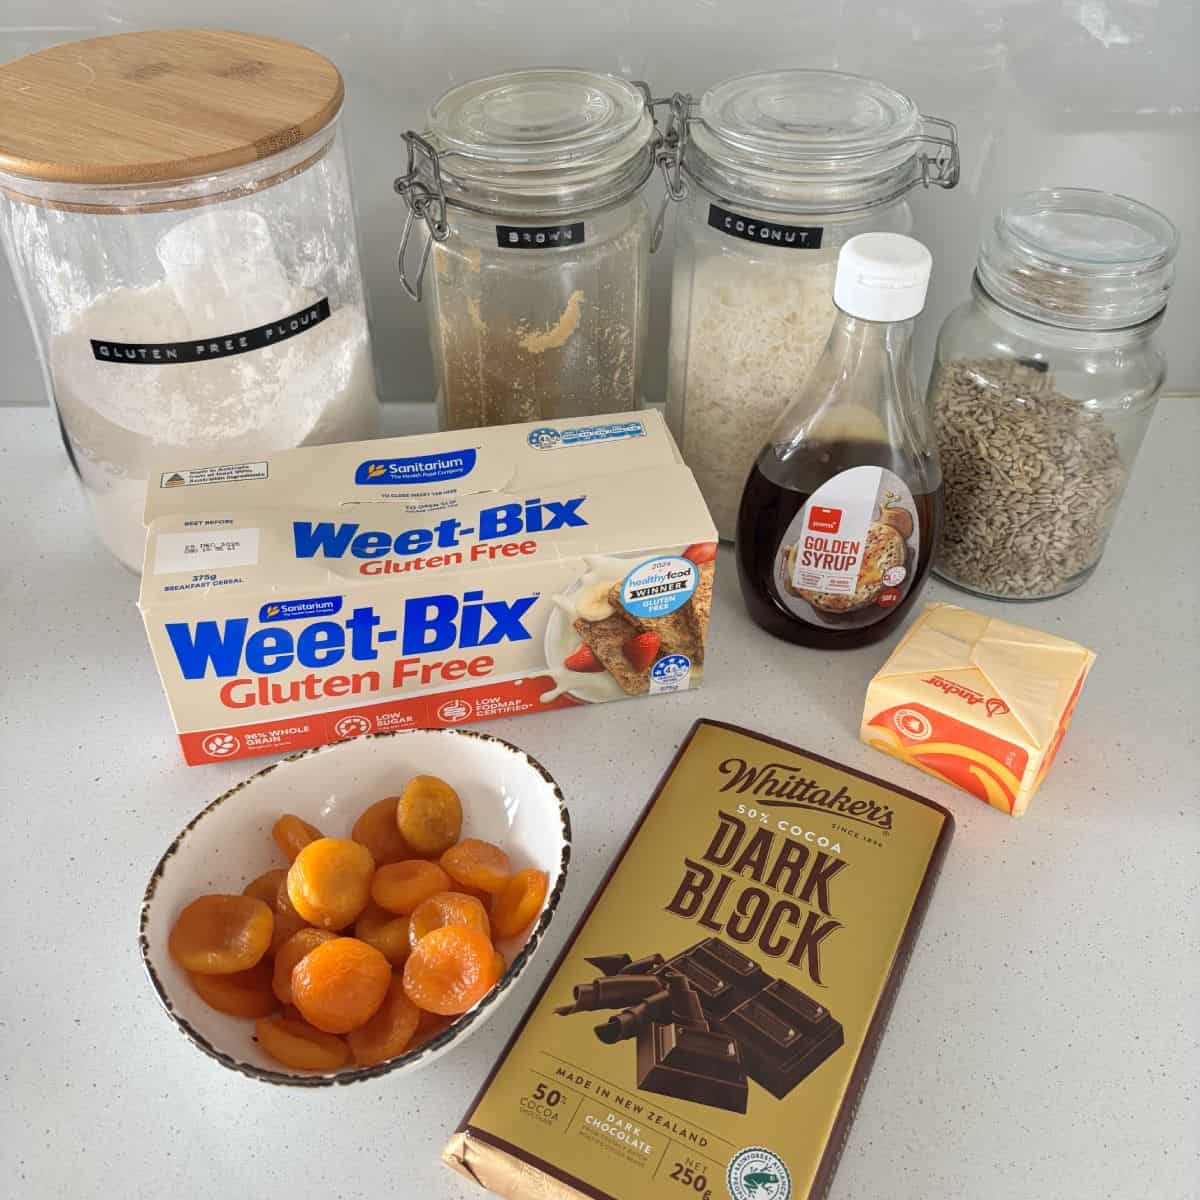
- Gluten Free Flour: I've tried this recipe with Edmonds Gluten Free Plain Flour, Pams Gluten Free Plain Flour and Woolworths Free From Gluten Plain Flour and they all work well. Because this is quite a wet mixture, it is forgiving of the flour type used.
- Gluten Free Weetbix: This is my preferred, go-to, substitute for oats. Ensure you crush the weetbix thoroughly so that you don't end up with dry clumps in your mixture. Not only do they provide the desired 'bumper bar' texture, but they're also the cheapest alternative compared to other gluten free substitutes. See the Oat Notes below for more details.
- Chocolate: It's important to note that Whittaker's chocolate is not certified gluten free. It is gluten free by ingredient, but is labelled a 'may contain gluten' from processing in the same factory as items containing gluten. Within the New Zealand coeliac community it is regarded by many as a safe choice. However, if you cannot or do not want eat food labelled 'may contain gluten', definitely look for another option. In New Zealand Bennetto chocolate is certified gluten free.
Oat Notes:
Our original Apricot and Dark Chocolate Bumper Bars recipe calls for ½ cup of oats, which contribute to the chewy texture of the bars. However in New Zealand, oats legally cannot be labelled gluten free. Some people with coeliac disease can tolerate oats without side effects and for those people, you could use any type of certified 'wheat free oats'.
However, for the majority of people adhering to a gluten free diet, the best option is to substitute the oats with any of the following:
- 2 x Gluten Free Weetbix: This is my go-to choice. When crushed well, 2 gluten free weetbix equal half a cup. As mentioned above, this is most economic replacement for oats.
- ½ cup Rice Flakes: I used this option when making the Banana and Dark Chocolate Bumper Bars. Because this version has mashed banana in it, it is naturally wetter than the other versions. I found it a good recipe to use the rice flakes in as they offered a decent crunch to the otherwise softer mixture. Rice flakes are made from steamed rice, pressed into flakes. So while they have been cooked, they are very crunchy.
- ½ cup Soy Protein Crisps: Similar to rice flakes, these offer a crunchy texture to the bumper bars and help to bind them together. Budget wise, this is a much more expensive substitute than gluten free weetbix. They also make the bars less 'chewy' and more 'crunchy' but still delicious.
- 1 Gluten free Weetbix + ¼ cup Rice Flakes or Soy Protein Crisps: This is a good compromise. If you like a little crunch to your bars and enjoy the chew of the weetbix, you can use a combination of both.
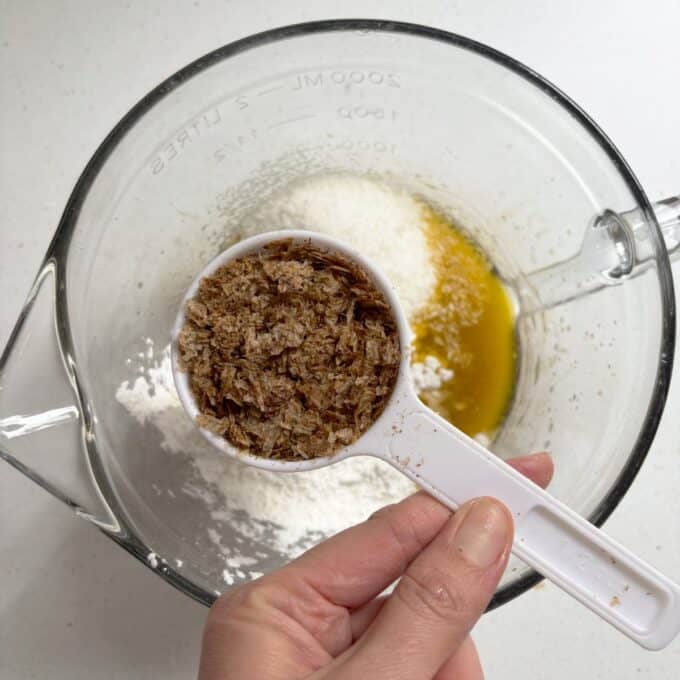

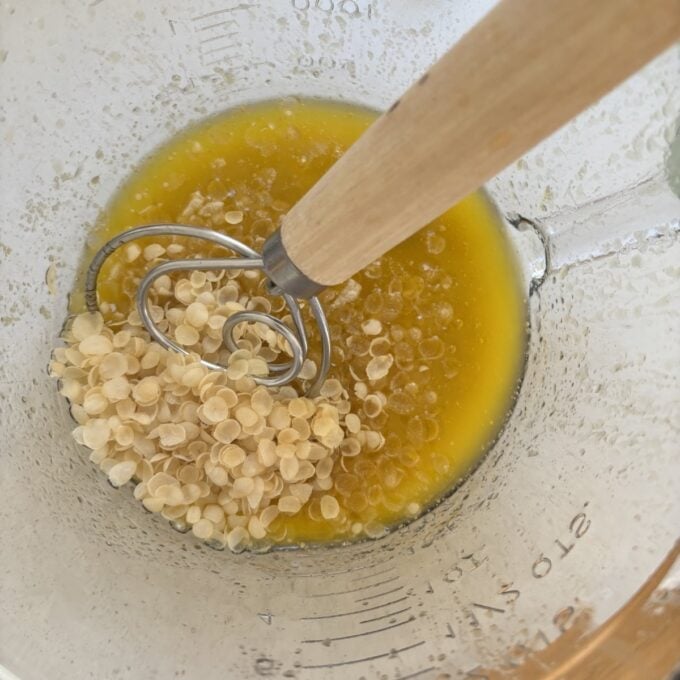
Note: Scroll to the recipe card for the ingredients, quantities and the full method.
Step by step instructions:
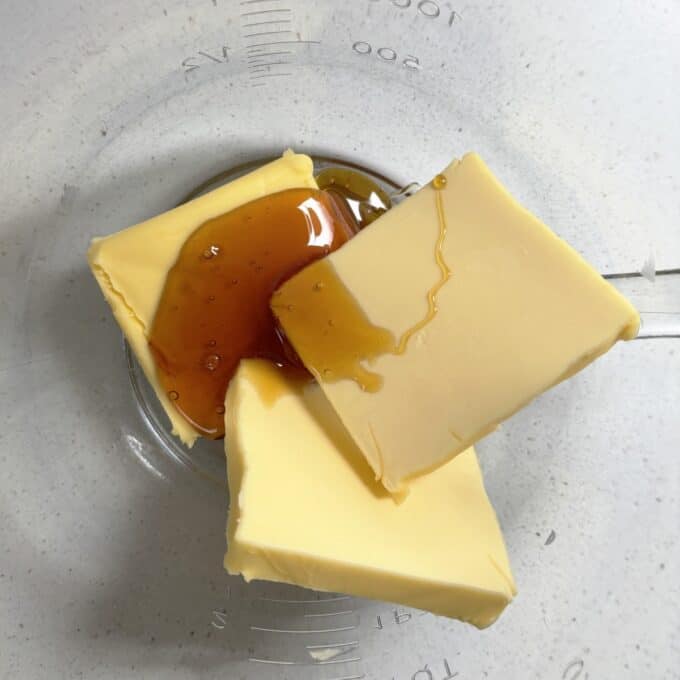
Preheat the oven to 160°C fan bake. Line a 27 x 17 cm slice tin with baking paper. In a large glass bowl, melt the butter and golden syrup in the microwave for 30 seconds. Stir in the brown sugar.
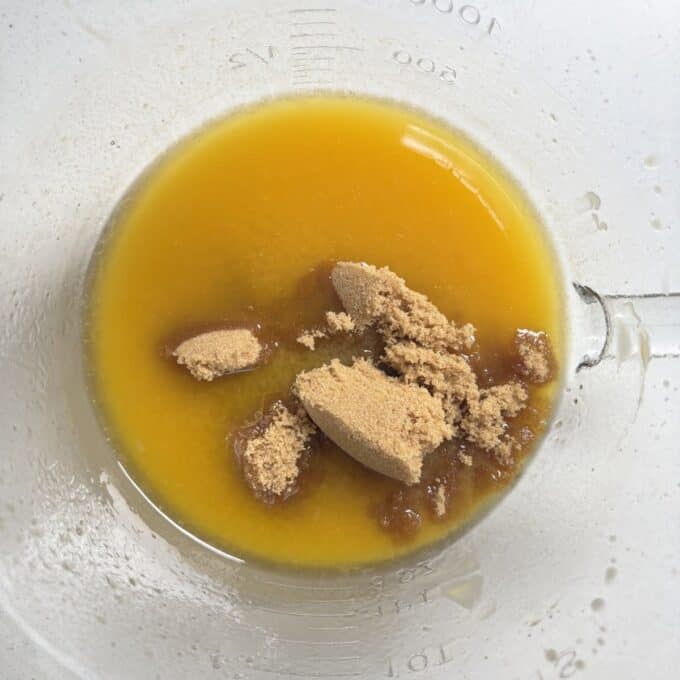
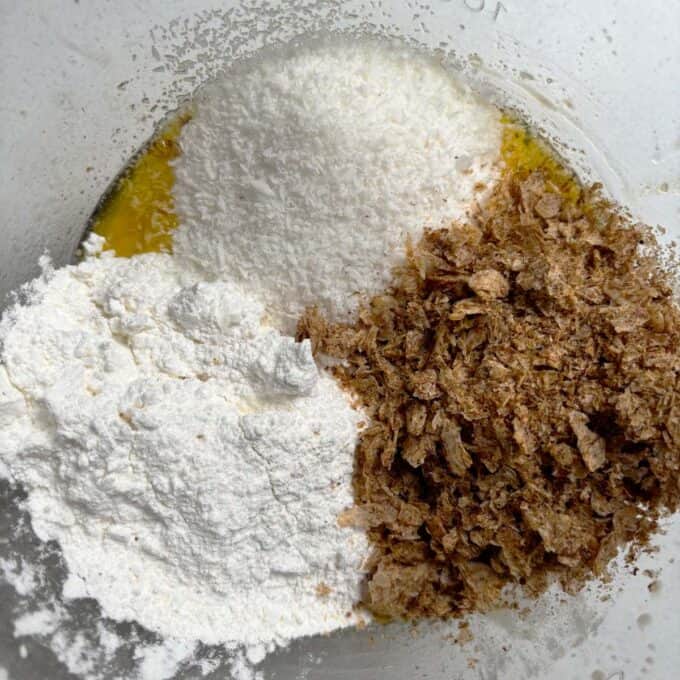
Add the gluten free flour, crushed gluten free weetbix and coconut, then stir to combine.
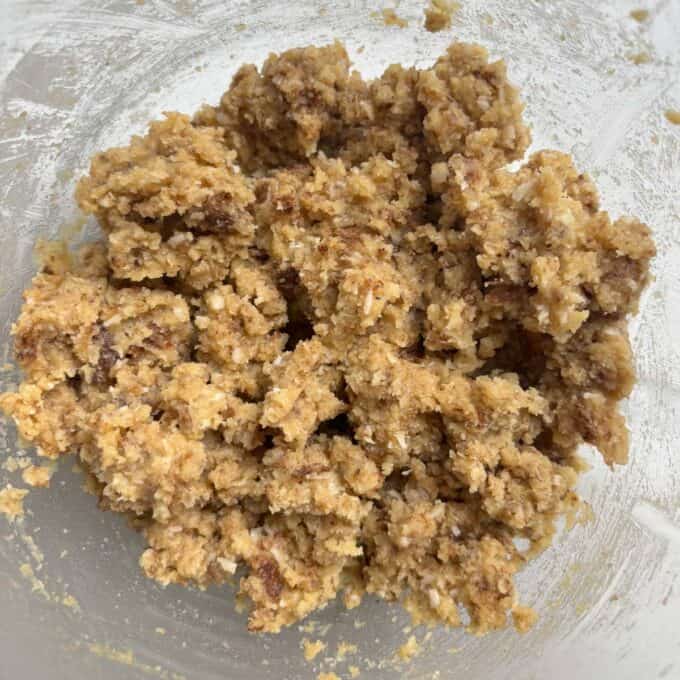
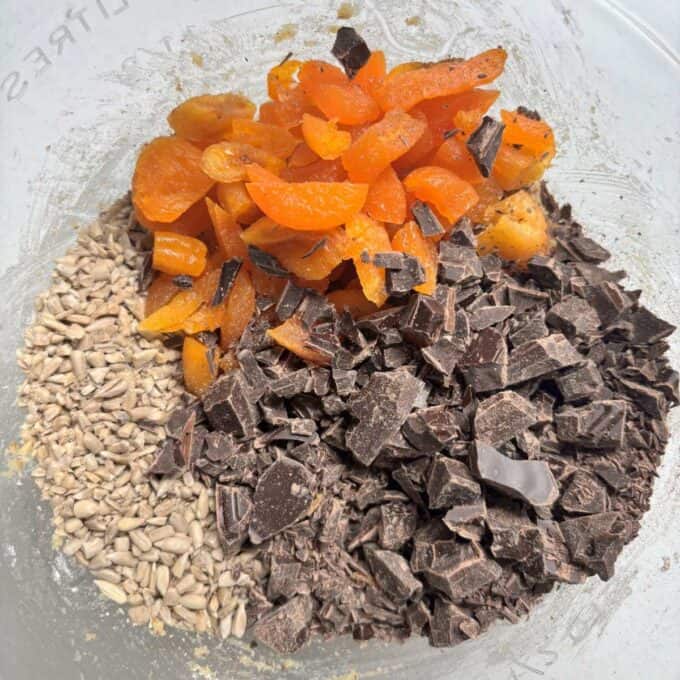
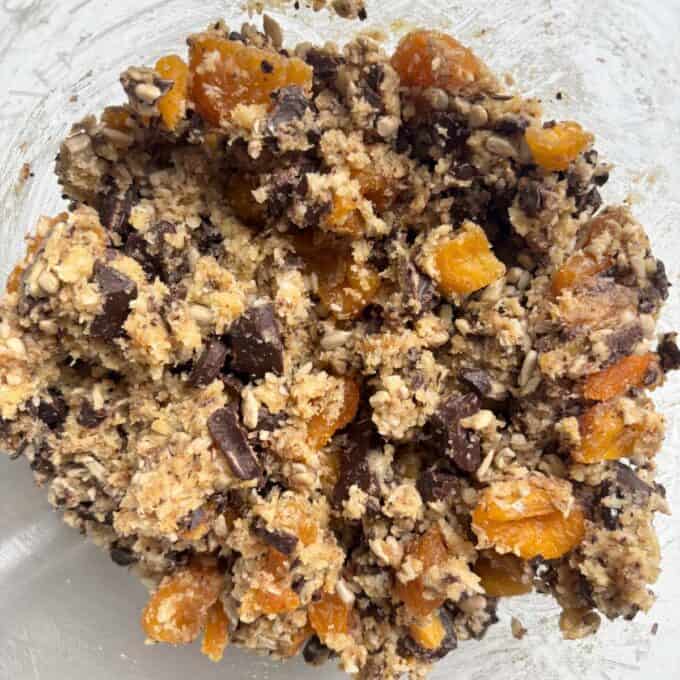
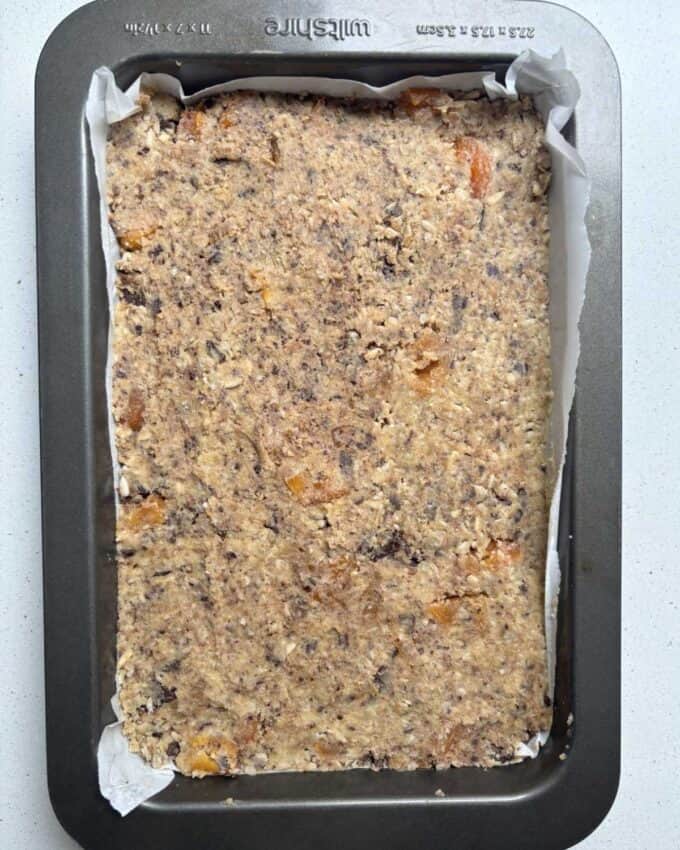
Add the sunflower seeds, apricots and dark chocolate, then mix until evenly combined. Press the mixture into the lined tin.
Bake for 18-20 minutes until just starting to brown around the edges but still soft in the centre.
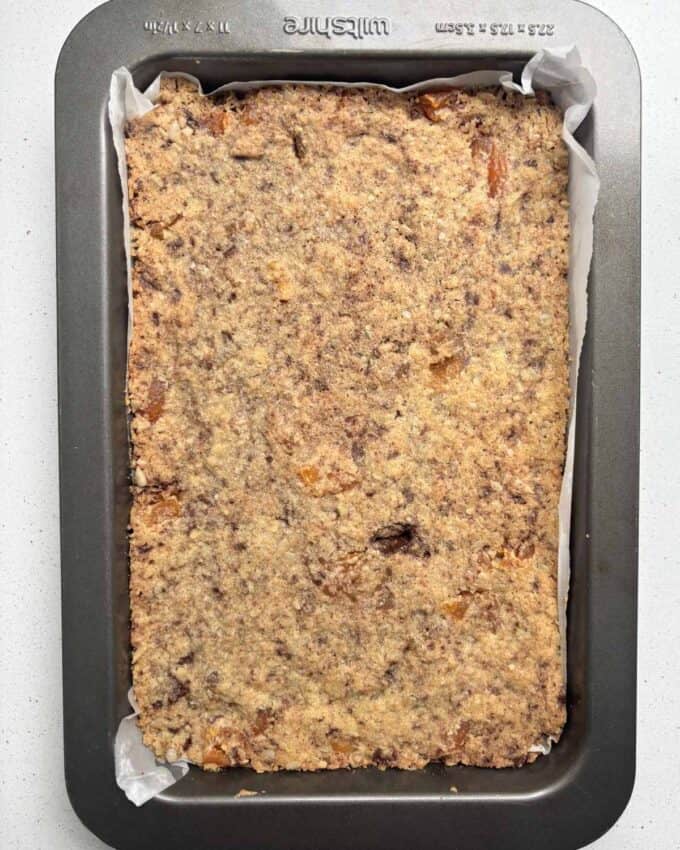
Leave to cool in the tin then refrigerate until completely chilled. Once chilled and set, remove from the tin and slice into bars.
Recipe FAQs:
Gluten free flour can cook slightly 'crispier' than regular flour in a slice like this. Therefore I've reduced the temperature to 160°C fan bake. Depending on how hot your oven runs, I would be checking it at the 18 minute mark to ensure the top doesn't go too brown/crunchy, and the middle remains chewy.
Absolutely. Feel free to make our Berry and White Chocolate Bumper Bars or our Banana and Dark Chocolate Bumper Bars with the substitutes in this recipe.
Storage:
Store your bumper bars in an airtight container in the fridge for up to a week. Or in a ziplock bag in the freezer for up to two months.
Top tips:
- Because gluten free weetbix are so much more expensive that regular weetbix, I always use the crumbs in the bottom of the weetbix bag! 2 weetbix weigh roughly 30g.
Related Recipes:
Made this recipe?
Please click on the stars below to rate it or, write a review!

Gluten Free Apricot and Dark Chocolate Bumper Bars
Gluten free bumper bars made with gluten free flour, gluten free weetbix, butter, golden syrup, sugar, coconut, seeds, apricots & chocolate.
Ingredients
- 150g butter
- 2 Tbsp golden syrup, 40g
- ½ cup brown sugar, 100g
- 1 cup gluten free flour, 150g
- 2 gluten free weetbix, crushed
- ½ cup desiccated coconut
- ½ cup sunflower seeds, roughly chopped
- 150g dried apricots, chopped
- 150g dark chocolate, roughly chopped
Instructions
- Preheat the oven to 160°C fan bake. Line a 27 x 17 cm slice tin with baking paper.
- In a large glass bowl, melt the butter and golden syrup in the microwave for 30 seconds. Stir in the brown sugar.
- Add the gluten free flour, crushed gluten free weetbix and coconut, then stir to combine.
- Add the sunflower seeds, apricots and dark chocolate, then mix until evenly combined. Press the mixture into the lined tin.
- Bake for 18-20 minutes until just starting to brown around the edges but still soft in the centre.
- Leave to cool in the tin then refrigerate until completely chilled - 3 hours or preferably overnight.
- Once chilled and set, remove from the tin and slice into bars.
Notes
- Gluten free flour can cook slightly 'crispier' than regular flour in a slice like this. Therefore I've reduced the temperature to 160°C fan bake. Depending on how hot your oven runs, I would be checking it at the 18 minute mark to ensure the top doesn't go too brown/crunchy.
Nutrition Information:
Yield: 12 Serving Size: 1Amount Per Serving: Calories: 414Total Fat: 22gSaturated Fat: 12gUnsaturated Fat: 10gCholesterol: 28mgSodium: 734mgCarbohydrates: 50gFiber: 4gSugar: 28gProtein: 6g
Nutritional values are approximate. Please use your own calculations if you require a special diet.
Thank you for checking out this recipe. I hope you enjoy making and eating it! If you have any questions, queries or feedback, please feel free to leave a comment below.
If you don't already follow me, head over to my Instagram, Facebook or TikTok pages to keep up to date with all my new recipes.
Vanya

Barbara Watkins says
Can you make this without baking
VJ cooks says
No sorry.
Leanne Macdonald says
Can you sub butter for olivani to make dairy free?
VJ cooks says
I haven't tried it myself, but others have and reported that is still works.
Cherry says
What dark chocolate did you use for this recipe please
VJ cooks says
I used Whittakers 50% dark chocolate. As mentioned in the post, that chocolate isn't certified Gluten Free, but is instead labelled as a 'May Contain Gluten'. If you need chocolate that is certified gluten free, Bennetto Chocolate is.
Bernadine says
Could you use Quinoa Flakes instead of Weetbix? Thanks
VJ cooks says
Yes that would be fine!