
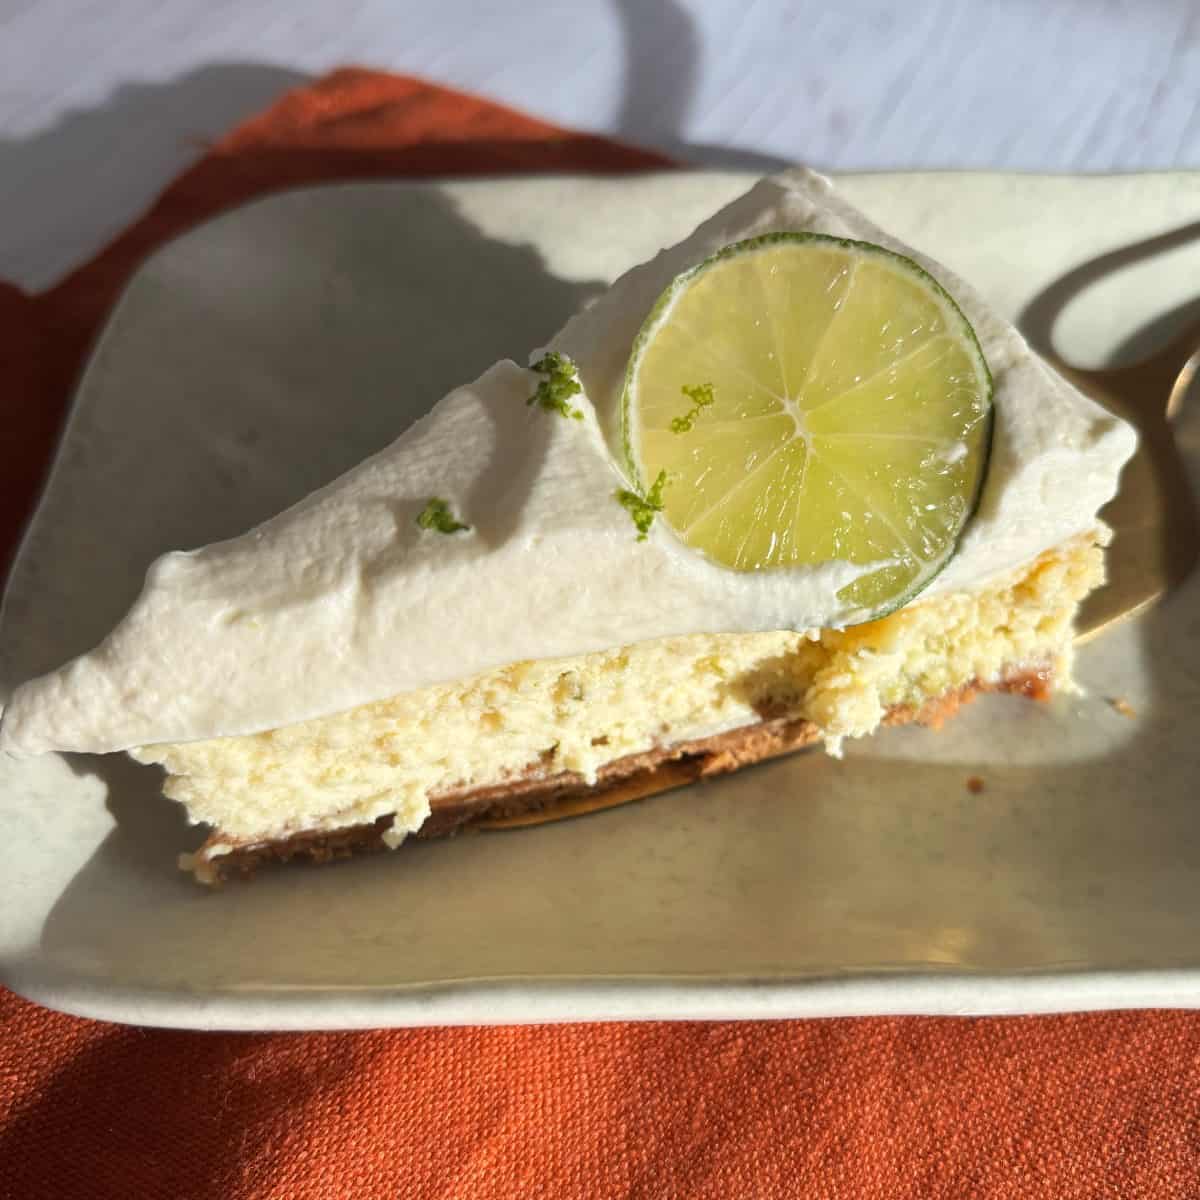
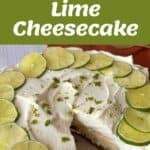
A tangy, light and airy, lime cheesecake made from a Gingernut biscuit and butter base, a creamy lime filling, topped with cream and fresh lime.
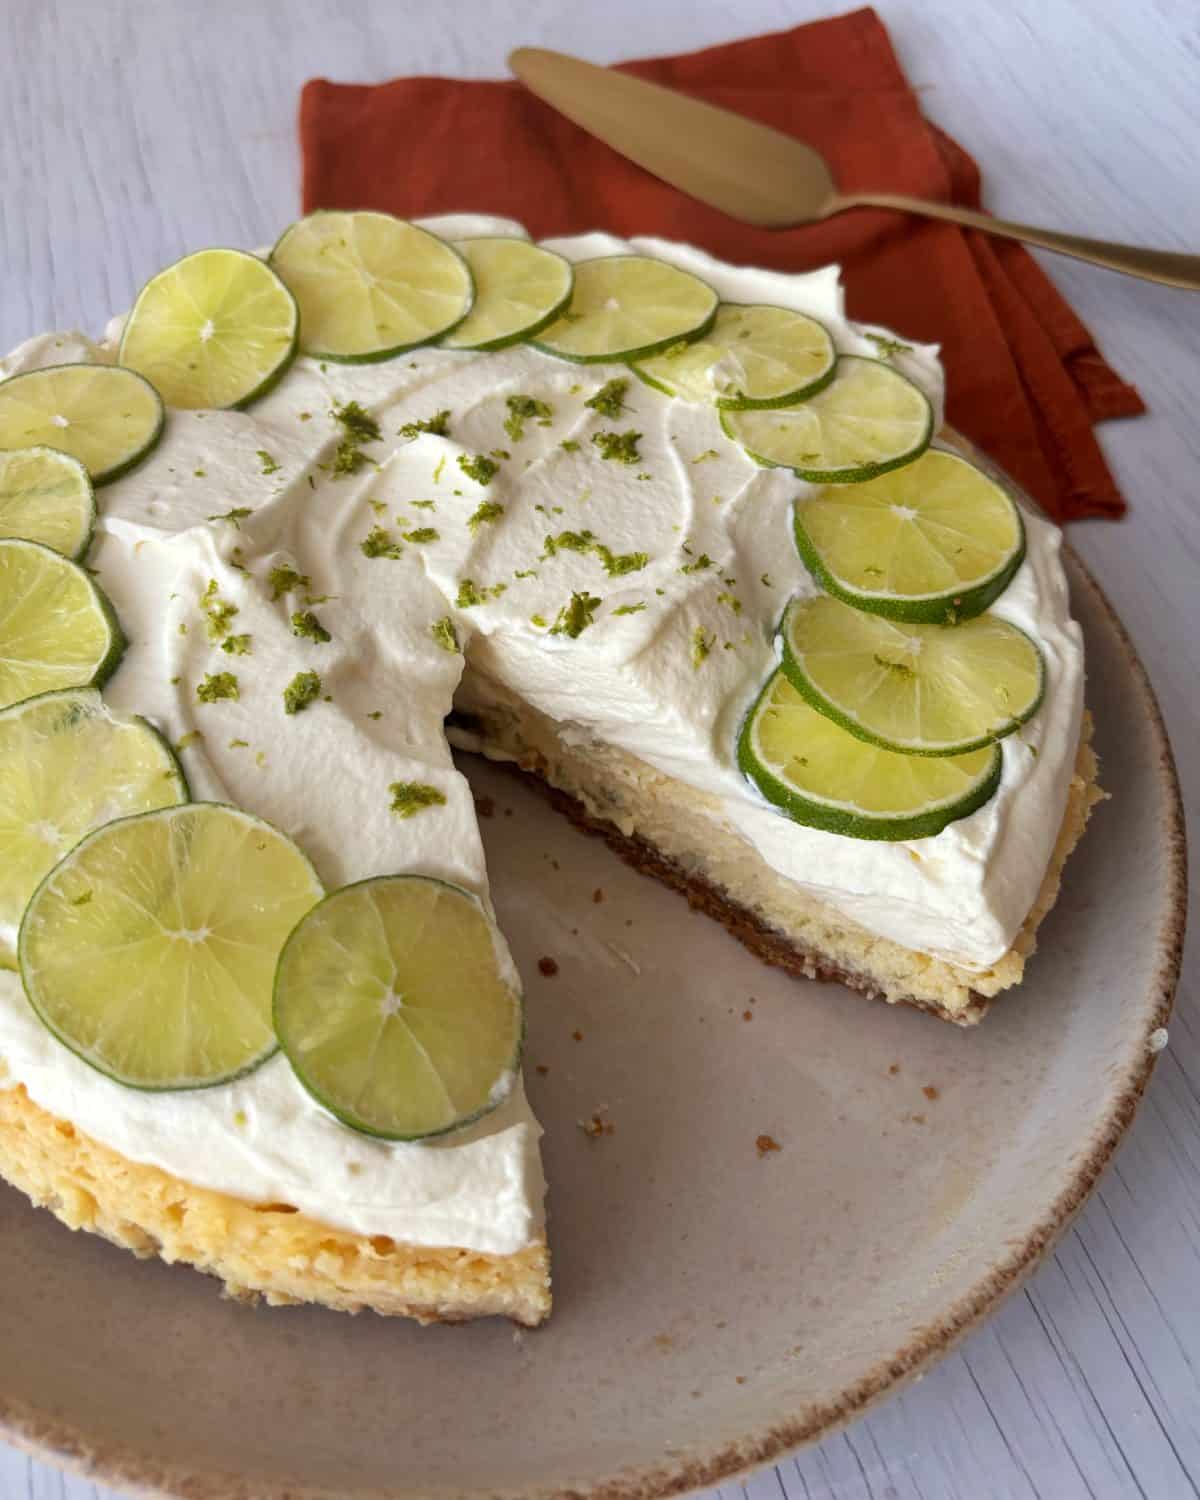
This light and airy Lime Gingernut Cheesecake is the perfect balance of tangy and creamy. With a crunchy gingernut biscuit base, silky smooth lime filling and whipped cream on top, it's an easy dessert that feels extra special with very little effort. The ginger and lime compliment each other so well. This dessert is best made the day before serving to allow it to firm up nicely. We have so many epic cheesecakes on the website, so if you like the look of this you might also enjoy our Biscoff Cheesecake or our Lemon Blueberry Basque Cheesecake.
Ingredient notes:
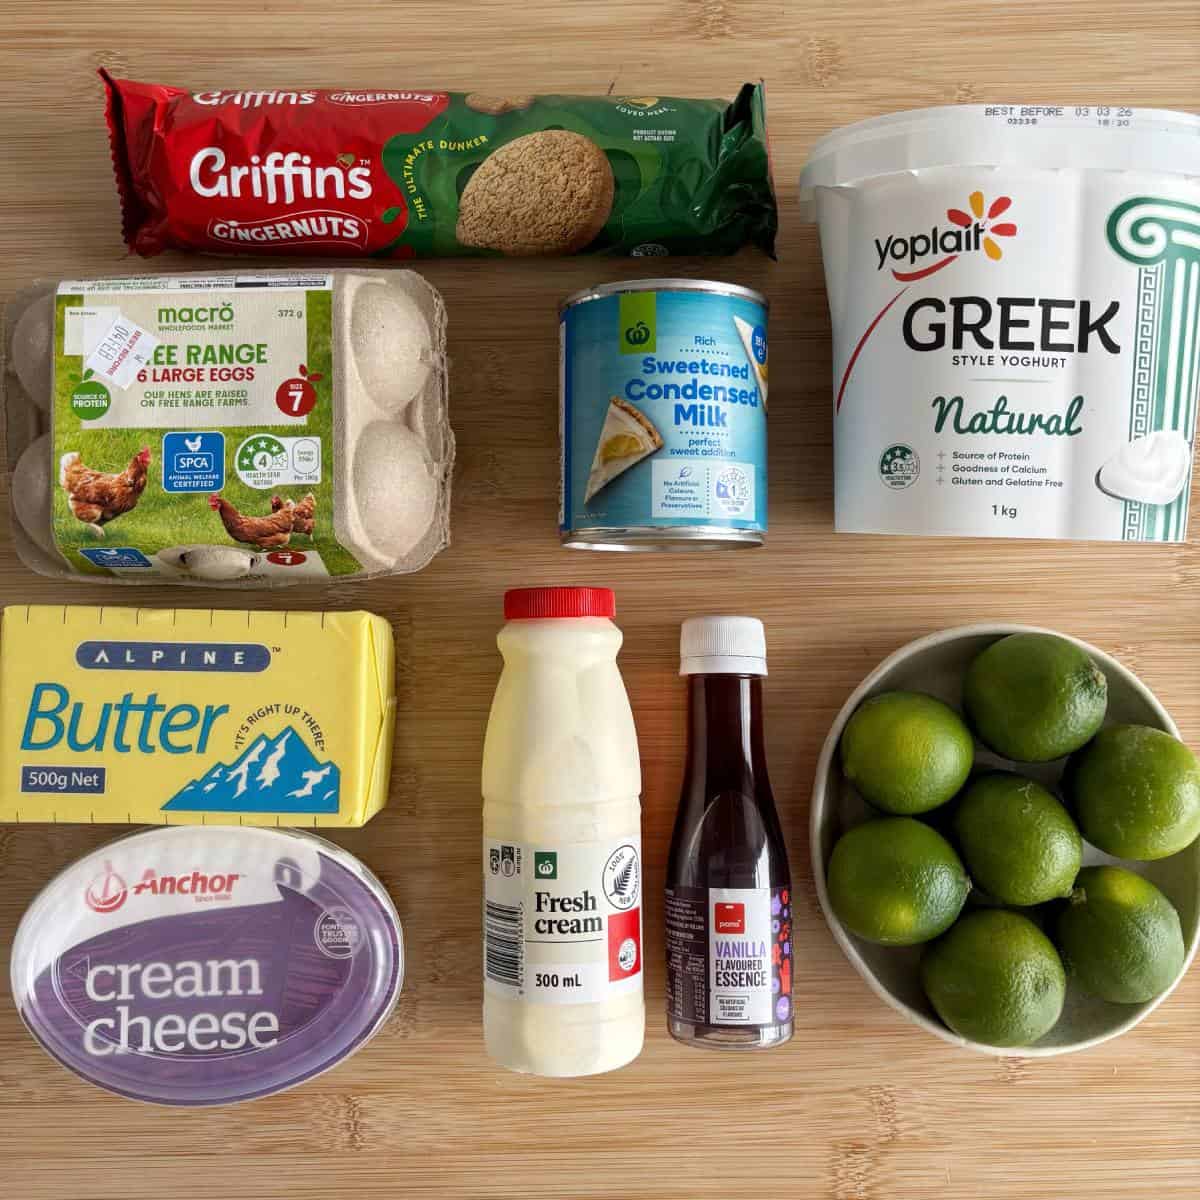
- Lime: This is certainly an important ingredient! If you can get your hands on key limes, you can absolutely use those instead. But I wouldn't go so far to say you could use lemons. Technically they will work, the cheesecake just won't have as much flavour.
- Gingernuts: I highly recommend the combination of ginger and lime together. You could also use malt biscuits or plain vanilla biscuits if you need to.
- Sweetened condensed milk: This one is important. Not only does the sweetened condensed milk provide the only sweetness to the recipe, it also acts as a stabiliser for the filling giving it structural integrity.
Note: Scroll to the recipe card for the ingredients, quantities and the full method.
Step by step instructions:
Preheat the oven to 180°C and line a 22cm springform cake tin with baking paper. Place the gingernut biscuits in a food processor and blitz to a fine crumb. Then add the melted butter and blitz again to combine.
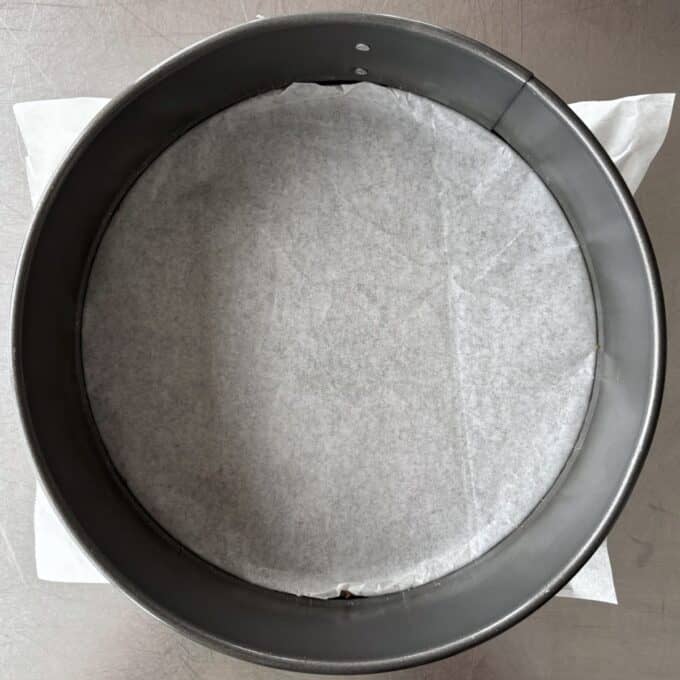
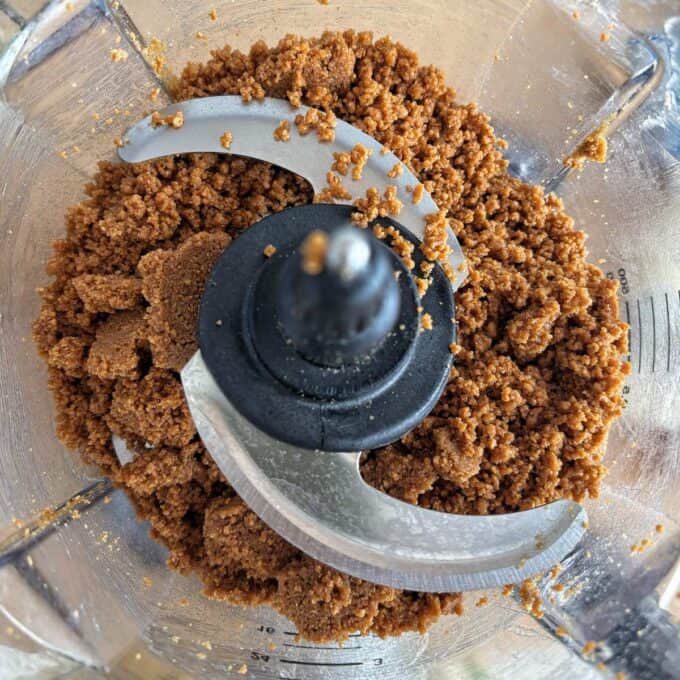
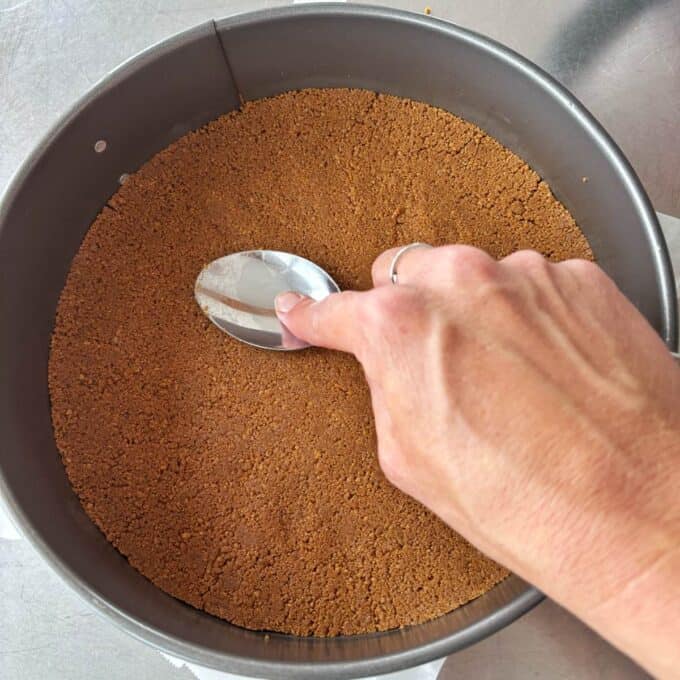
Tip the mixture into the lined cake tin. Use the back of a spoon to spread the mixture out to the edges, and gently press down to an even, firm layer. Place in the oven and cook for 10 minutes, then remove to cool slightly.
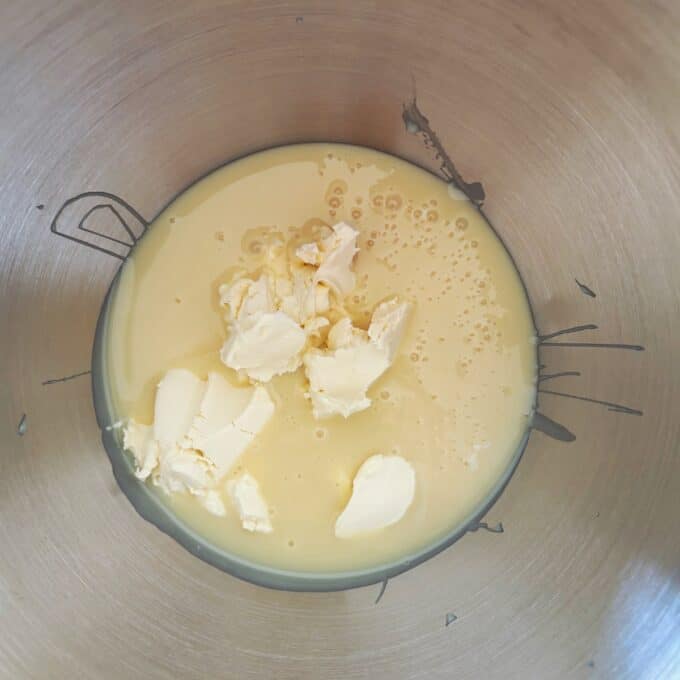
While the base is cooking, prepare the filling. To the bowl of a stand mixer, add the cream cheese, sweetened condensed milk, Greek yoghurt, vanilla essence and lime zest. Mix to combine until there are no lumps, approximately 5 minutes. With the mixer still running, slowly pour in the lime juice and mix for a further 30 seconds.
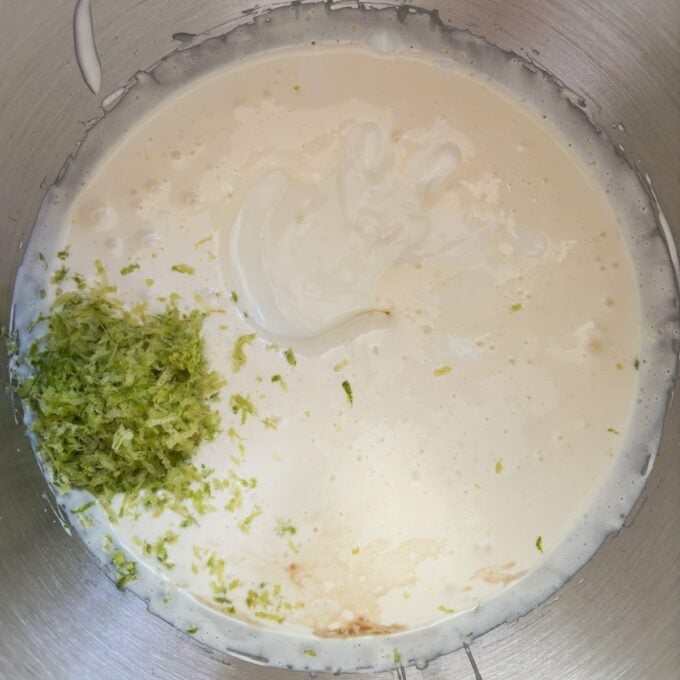

Once smooth, add the egg yolks and mix until just combined, approximately 30 seconds. Reduce the oven to 170°C.
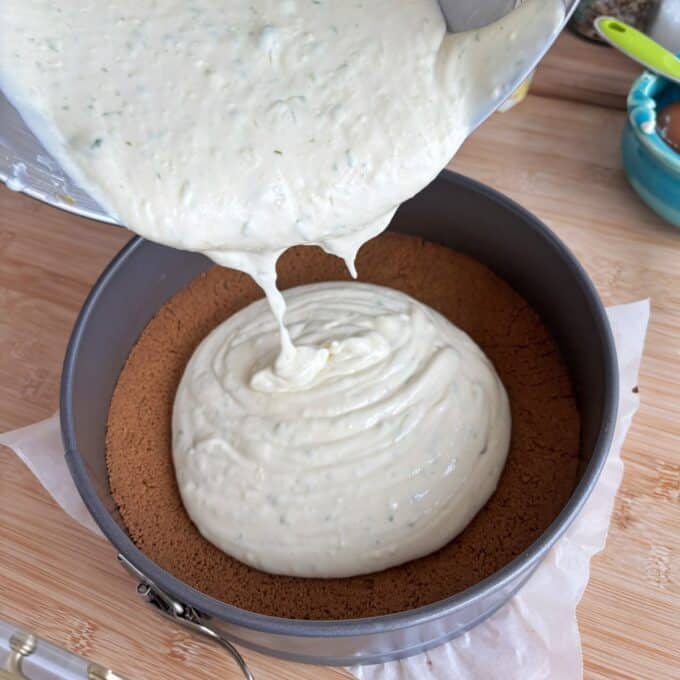
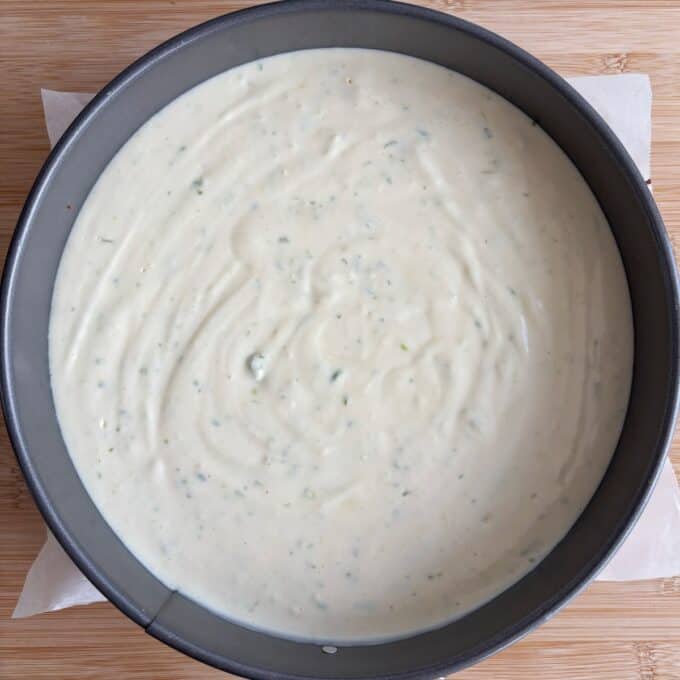
Pour the filling onto the cooked base, then return to the oven for 20 minutes. There will still be a slight jiggle to the centre. Allow the cheesecake/pie to cool then place in the fridge for at least 4 hours, or overnight to set.
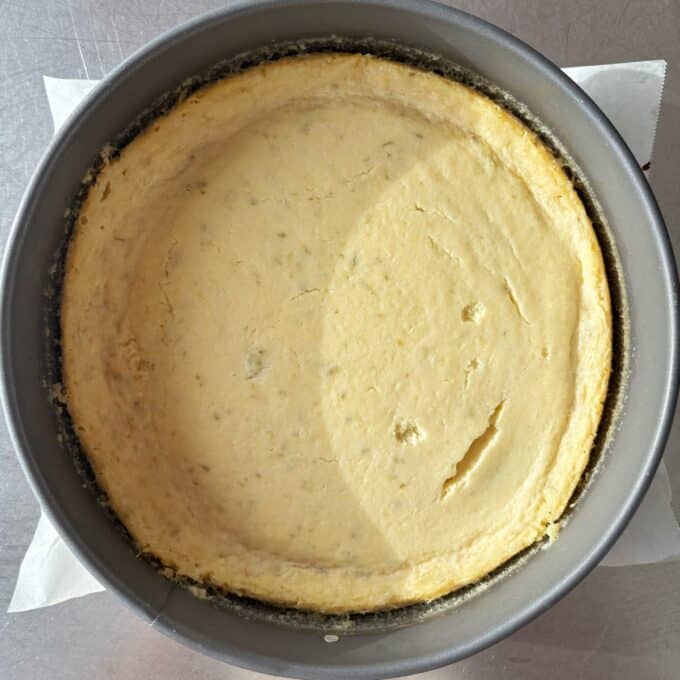
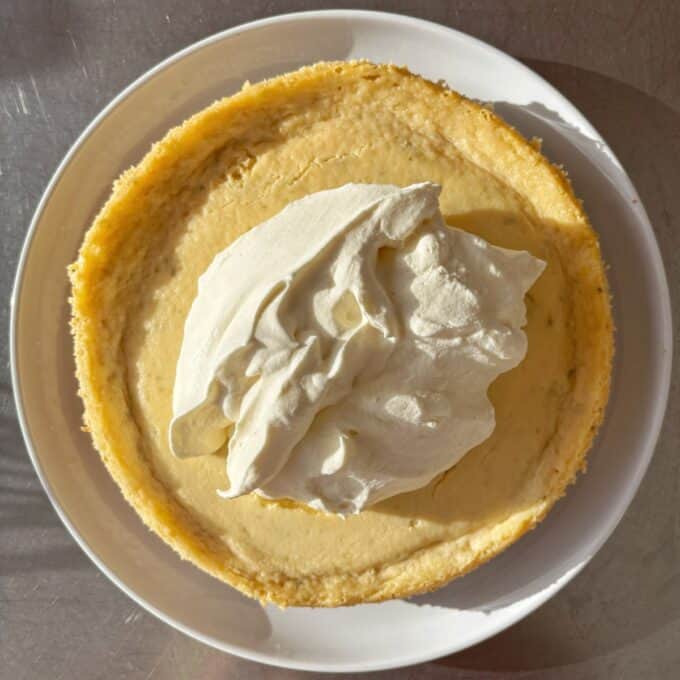
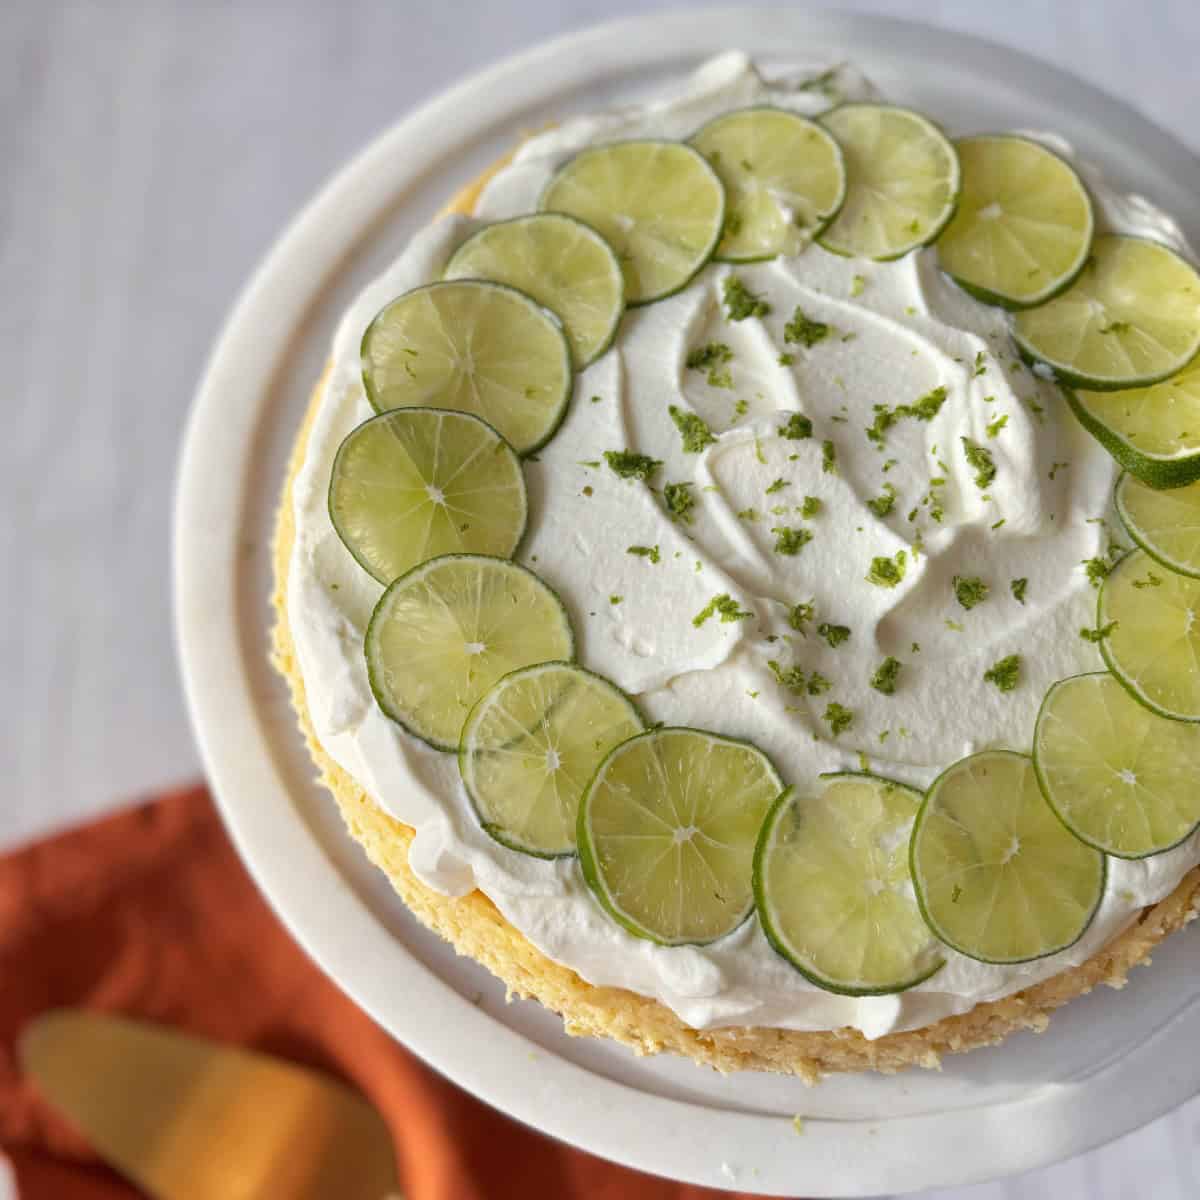
Whip the cream and spread over the top of the cooled cheesecake. Decorate with pieces of sliced lime and zest if you like.
Recipe FAQs:
Yes, any plain biscuits will work.
Yes! I've made this several times with gluten free gingernuts and it works really well!
Absolutely. Simply cook the cheesecake, allow to cool, then chill in the fridge for 4 hours as per the original recipe. Wrap well with clingfilm then place in the freezer for up to three months. Allow to defrost completely in the fridge before adding the cream and optional lime to the top.
Storage:
Store the cheesecake covered in the fridge for up to 4 days.
This cheesecake freezes really well. Chill completely overnight first, then wrap the whole baked cheesecake (minus the cream) with cling film. Freeze for up to three months. To defrost, thaw in the fridge overnight, then add the whipped cream and lime.
Top tips:
- To make this gluten free, simply swap the regular gingernuts for gluten free gingernuts.
- To ensure your filling doesn't become grainy during the bake, make sure your cream cheese is room temperature and not cold from the fridge. Also make sure your lime juice is added after the cream cheese has been beaten together with the condensed milk, yoghurt and zest. If it is added too soon it can curdle the mixture.
Related Recipes:
Made this recipe?
Please click on the stars below to rate it or, write a review!

Lime Gingernut Cheesecake
A tangy and creamy lime cheesecake made from a Gingernut biscuit and butter base, a creamy lime filling, topped with cream and fresh lime.
Ingredients
Base
- 250g packet gingernut biscuits
- 85g butter, melted
Filling
- 395g can sweetened condensed milk
- 125g cream cheese
- ½ cup Greek yoghurt
- 1 tsp vanilla essence
- 1 tbsp lime zest
- ⅓ cup lime juice (4 small limes)
- 2 egg yolks
Topping
- 300ml cream
- 1 lime for decorating, optional
Instructions
- Preheat the oven to 180°C and line a 22cm springform cake tin with baking paper.
- Place the gingernut biscuits in a food processor and blitz to a fine crumb. Then add the melted butter and blitz again to combine.
- Tip the mixture into the lined cake tin. Use the back of a spoon to spread the mixture out to the edges, and gently press down to an even, firm layer.
- Place in the oven and cook for 10 minutes, then remove to cool slightly.
- While the base is cooking, prepare the filling. To the bowl of a stand mixer, add the cream cheese, sweetened condensed milk, Greek yoghurt, vanilla essence and lime zest. Mix to combine until there are no lumps, approximately 5 minutes. With the mixer still running, slowly pour in the lime juice and mix for a further 30 seconds.
- Once smooth, add the egg yolks and mix until just combined, approximately 30 seconds. Reduce the oven to 170°C.
- Pour the filling onto the cooked base, then return to the oven for 20 minutes. There will still be a slight jiggle to the centre.
- Allow the cheesecake/pie to cool then place in the fridge for at least 4 hours, or overnight to set.
- Whip the cream and spread over the top of the cooled cheesecake. Decorate with pieces of sliced lime and zest if you like.
Notes
To make this gluten free, simply swap the regular Gingernuts for gluten free Gingernuts or your favourite plain gluten free biscuit.
Nutrition Information:
Yield: 12 Serving Size: 1Amount Per Serving: Calories: 293Total Fat: 17gSaturated Fat: 9gUnsaturated Fat: 8gCholesterol: 72mgSodium: 252mgCarbohydrates: 30gFiber: 1gSugar: 20gProtein: 6g
Nutritional values are approximate. Please use your own calculations if you require a special diet.
Thank you for checking out this recipe. I hope you enjoy making and eating it! If you have any questions, queries or feedback, please feel free to leave a comment below.
If you don't already follow me, head over to my Instagram, Facebook or TikTok pages to keep up to date with all my new recipes.
Vanya
Lucianne says
Hi VJ, could I swap up the Greek yoghurt and cream cheese for lactose free versions just to lower the dairy content? Loving your recipes and cookbooks! Thanks Lucianne
VJ cooks says
Oh I haven't tried that, so I'm not sure how they will bake sorry!